A bit of a tangent here - I ended up making another android auto head unit using my prototype screen setup, and installed it in the BMW e46 coupe with my friend. I started by taking the Waveshare 7in display apart, and reassembling it on the Metra 95-9311B double DIN kit frame. The reasons for using the kit is that first, it relocates the AC controls to the bottom, replacing the sunglass holder compartment which is not very useful, allowing a proper 16:9 aspect ratio screen up top. Second, it provides a blended fit into the rest of the interior, with nice soft touch rubber textured exterior exposed to the user. The diagram below shows the assembly work that I had to do:

There were many test fits and functional checks before permanently gluing the components in with heavy-duty epoxy. I used VHB double-sided tape to help hold the screen and capacitive touch elements in place before application of epoxy, as I wanted to keep them well aligned (so the touch registers correctly to the screen pixels). With that finished, I put together a double buck converter to step the vehicle power from 12V nominal to 5V for the Raspberry Pi and the screen. It is shown below:
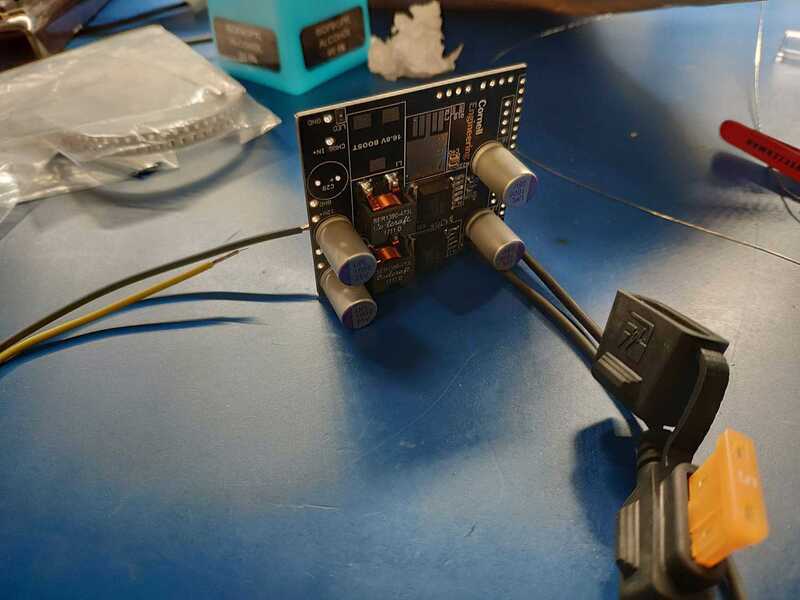
This is one of my own designs from a grad school project, and I had all the boards and components on hand still. I did cut the PCB down in half (the other half was stepper motor drivers which is not needed here to save space). The reason I wanted to use 2x buck converters is to deal with potentially high current from charging the phone, since the Raspi not only connects data for the Android Auto projection, but also feeds power. In my testing, the Raspi power circuit was insufficient to feed the touch screen, the Raspi itself, and a modern USB C phone, when there is only one source of power for Raspi 5V in, and 3 5V USBs out (touch screen has 2, one is pure power, the other is power + touch signal). The touch screen would power cycle constantly probably due to it being more sensitive to voltage droops. This system worked well, and I epoxied everything down to last in automotive shock + vibe environments.
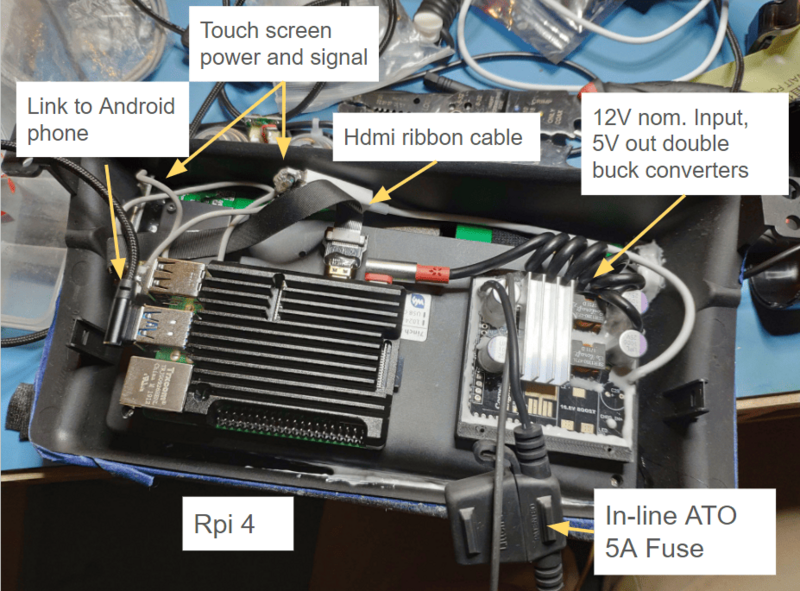
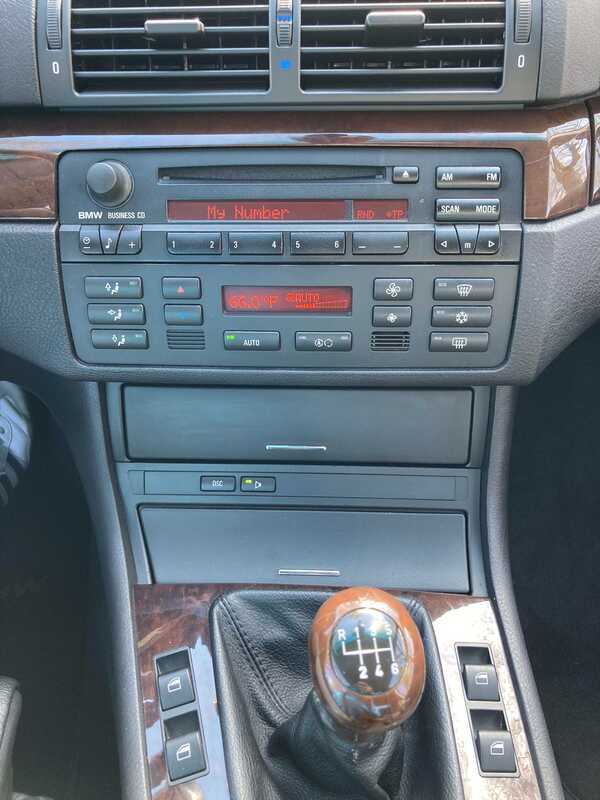
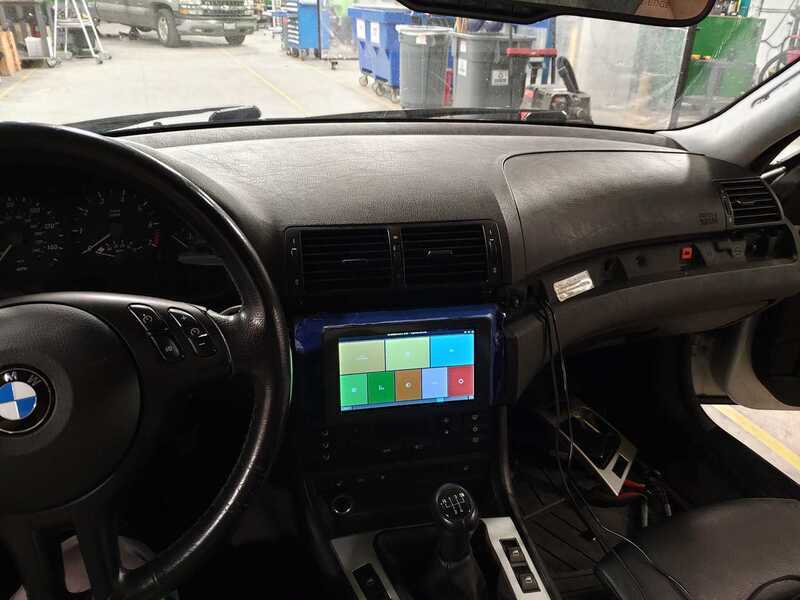
The components were assembled behind the touchscreen as shown above. Not shown is I ended up hot gluing most small connectors such as micro HDMI, the USB C power to Raspi, and the touchscreen input micro USBs to give them some vibe resistance. Lastly, I designed and 3D printed a thin bezel to cover the front fascia, since that was not pretty due to the expoxy joint. I had also accidentally cracked some of the glass at the corners (not close to the sensor), and the bezel nicely covers all that while bonding everything so cracks do not extend over time. This is what it looked like before: (forgot to take a pic so this internet stock e46 pic will have to do)
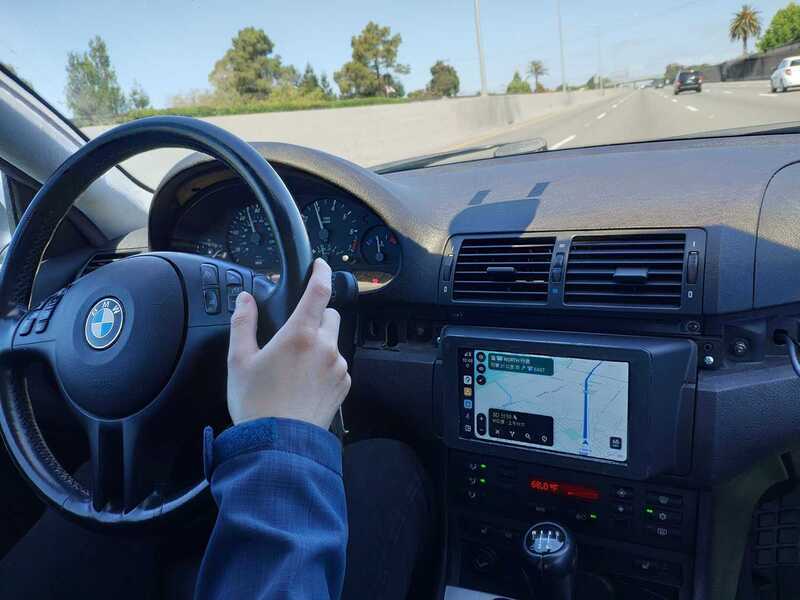
This is what it looks like after install:
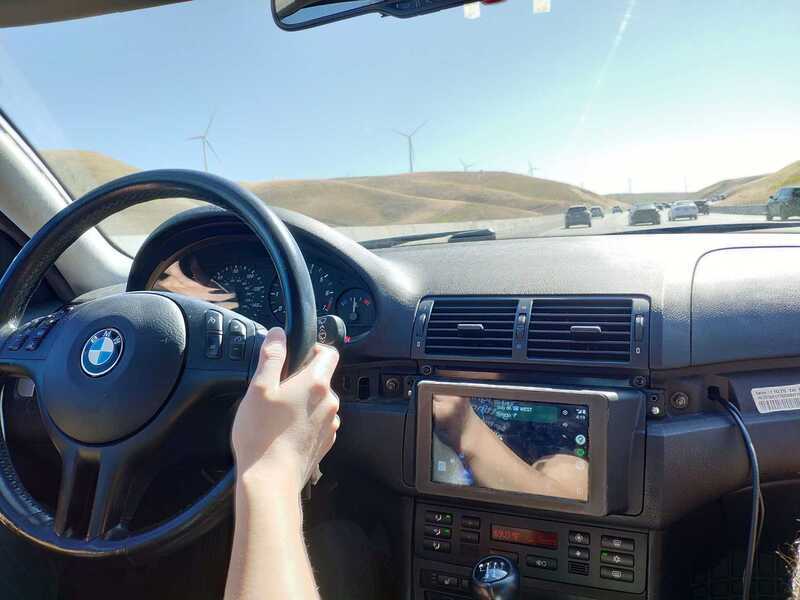
And taking it on a longer test drive just south of Sacramento:
Thermally, the system performs well, with the Raspi reaching just 56C on a hot summer day. Even without the AC running it would be fine, although the AC does not cool the infotainment directly. For audio, since we had removed the radio, we lost the ability to use the Harman Kardon speakers. We put a small USB speaker in the center console for the time being, to play music and hear nav directions. The extension harness is already being made to relocate the stock Alpine Business CD unit to the glovebox like this post on the forums.