This week we installed the radio in the glovebox. After finding limited information online, we worked off the post in the forum and some pages showing the pinouts.

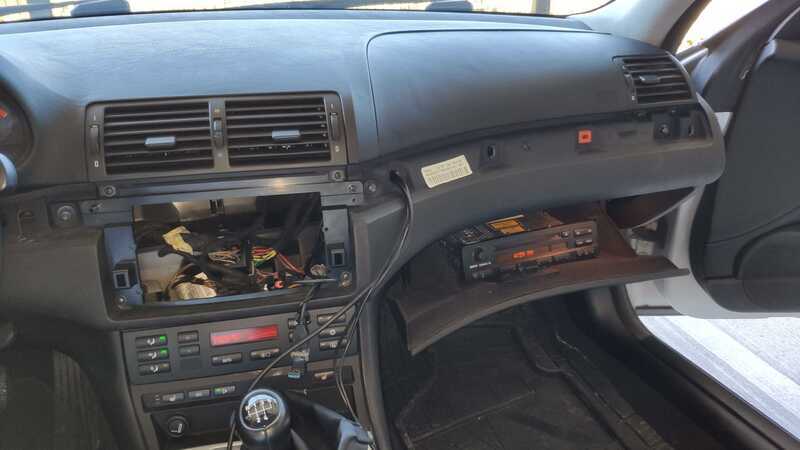
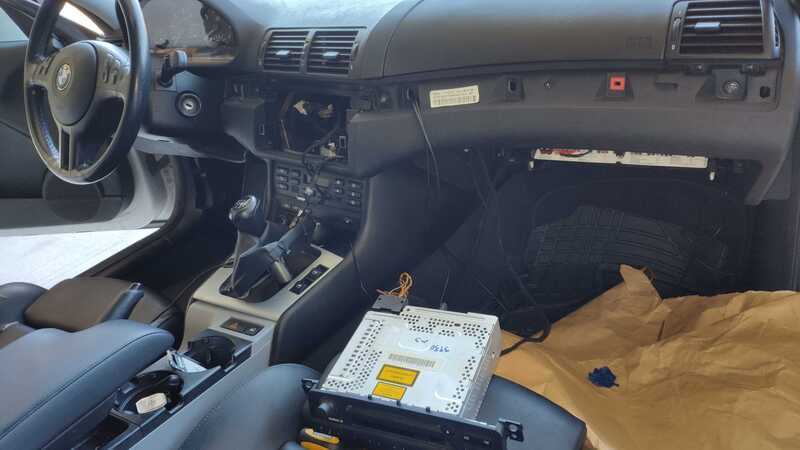
To begin the install, we pulled the glove box assembly out as well as our Android Auto dash unit to expose the radio harness behind it.
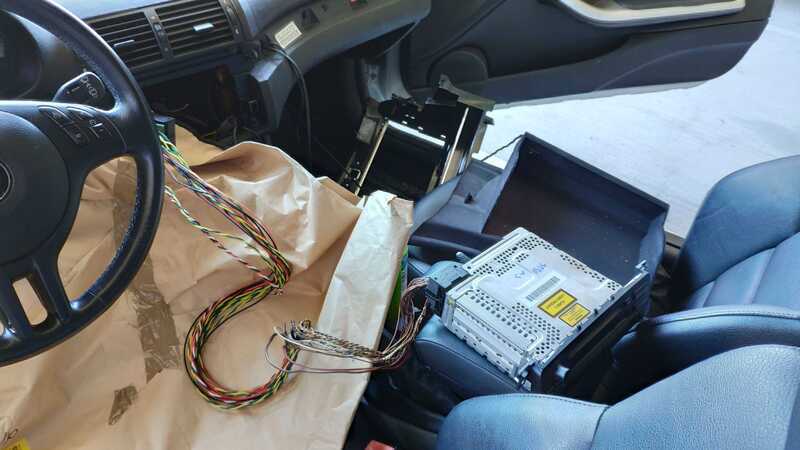
We had also pulled a full functional radio from the junkyard for 40 bucks. So we disassembled our somewhat broken one (the power and volume knob is stuck, typical e46 problem), to get the unobtanium rear connector (AMP 1-1355614-1, BMW 6 901 667) that sits on a vertical daughterboard. The purpose of doing that is to be able to solder extension wires to it, from the mating harness stub that we had clipped in the same vehicle that we pulled the radio, so that the radio harness + steering wheel controls can extend by about 3 feet into the glove box. This is the extension harness I built, with 4 or 5 two wire twisted pairs for each speaker, and a three wire twisted pair for the smaller connector. Probably didn’t need all of these as our car does not have a trunk CD changer, but I didn’t bother figuring it out as it was too annoying to fix if I was wrong. I repurposed an old junk harness for the wires to splice onto the salvaged stub, did it with automotive crimps then ran adhesive lined double walled heatsink over it.

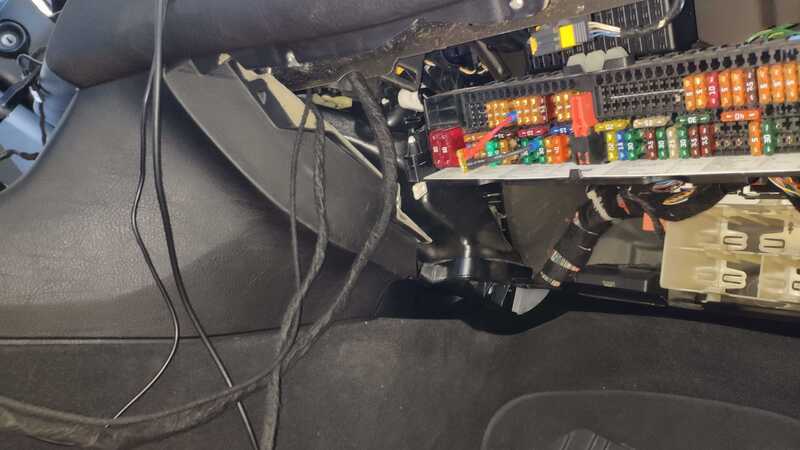
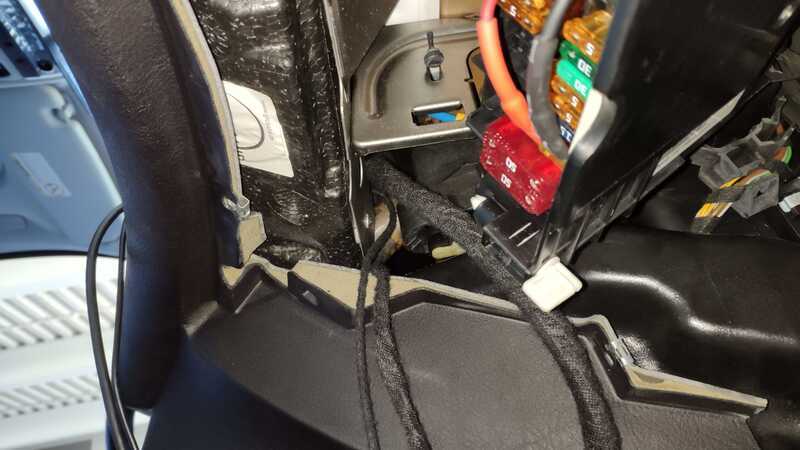
To prevent the solder joints from coming loose due to vibration fatigue, we epoxy potted the connector end after we tested that it was fully functional. Then, we also harness taped it with tesa fleece tape, à la BMW OEM style. Running the harness behind the dashboard was the biggest challenge here, believe it or not. The square connector is bulky, and the area behind the dashboard is crammed with AC components. We made a mistake by trying to run the connector after connecting it to the original harness, and not disconnecting the fuse. The connector contact touched the dash steel bar which shorted it to chassis. Thankfully all it did was blow the 30A fuse, which was an easy replacement. After that we pulled the fuse, and had to remove the latch as well as the second connector from the group to just barely get it to fit through a windy opening under the dash AC duct. This kind of shows where we ran the harness, it was extremely difficult to see and even more difficult to manipulate the connector deep inside the dash with our fingers. We had to use a 90 degree pick to help pull it through.
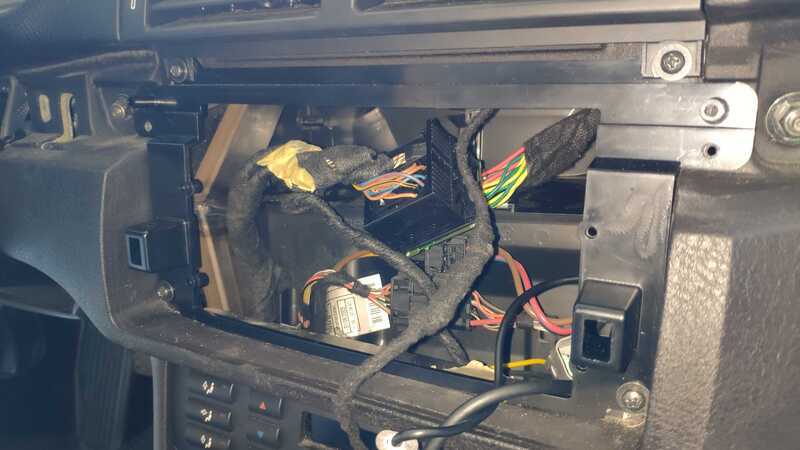
After a great deal of struggle and some upside down car yoga, it went through. The second connector went through a lot easier as it was a quarter of the size. The aux connector went through as well in the reverse direction as it originally sat (we connected the 3.5mm end to the Raspi aux output), and we reassembled everything together. The female mating end got connected to the male end of the original radio harness:
Lastly, we needed to modify the glove box. This is the one part that the forum post did mention. There are two pieces that we needed to cut holes out of, one being the tray that drops down, the other being the plastic frame that is bolted to the car. They both need a 3x1.5 inch rectangular hole cut to run the big connector through. The plastic frame hole can be cut with a dremel as it was thin, but the drop down tray required using a drill and hole saws as it had a criss-cross plastic reinforcement making it a thick wall. Of course the plastic frame cracked during the removal process as is typical for all 20 year old BMW parts, I had gotten quite good at fiberglass epoxy repairs at this point so it was an easy fix.
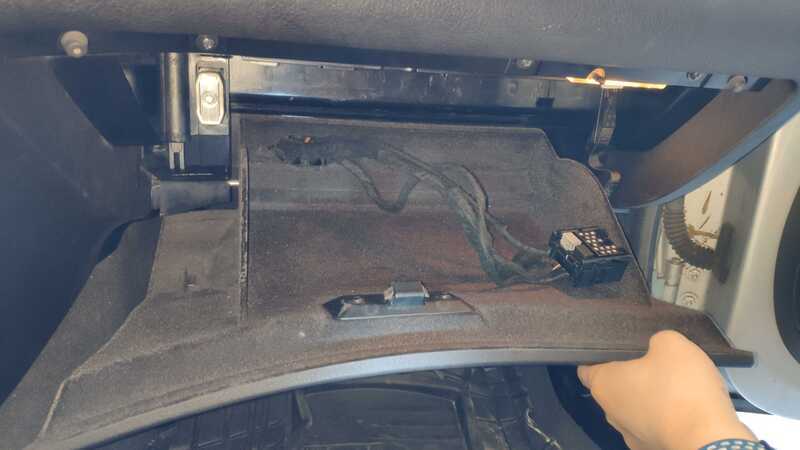
Finally, this is it all done, did not even need to bolt the radio down as it fits very snug inside the glove box. AM/FM Radio does not work yet because we are waiting on a Fakra antenna extension. Impedance controlled coax is not something I am capable of making, yet.