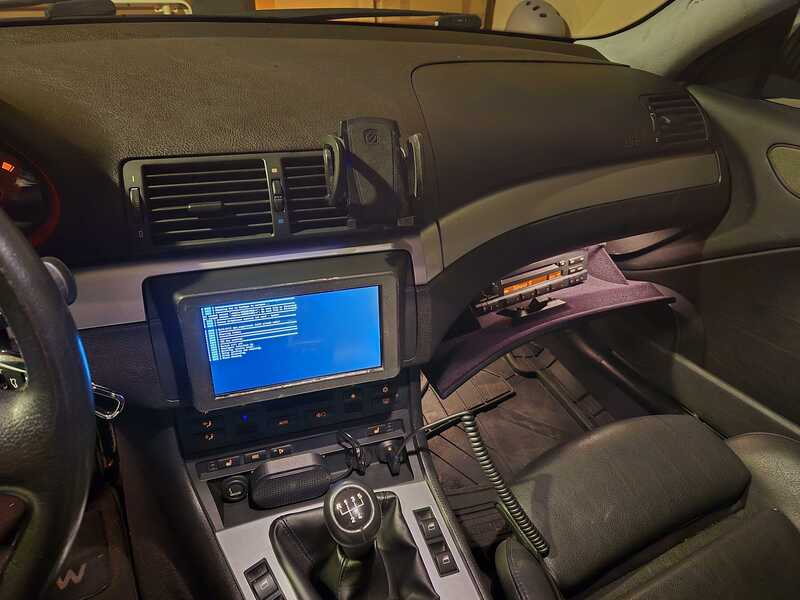
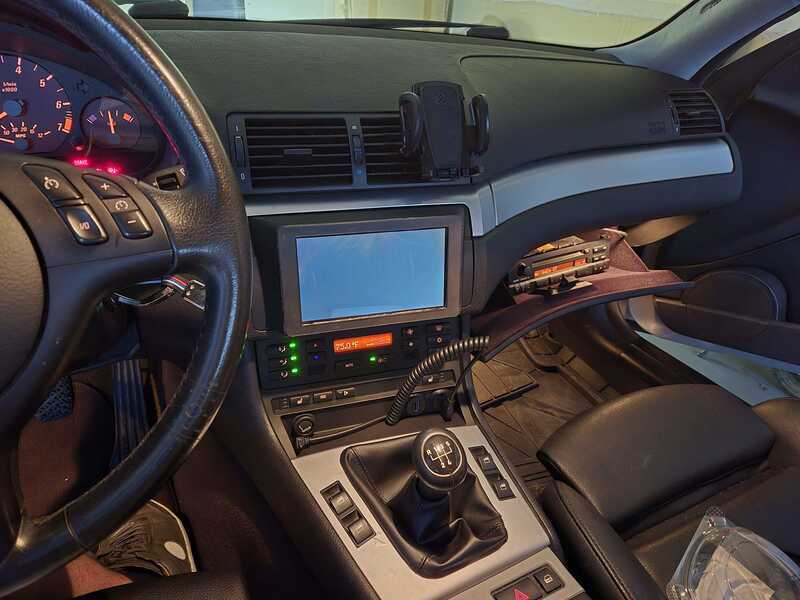
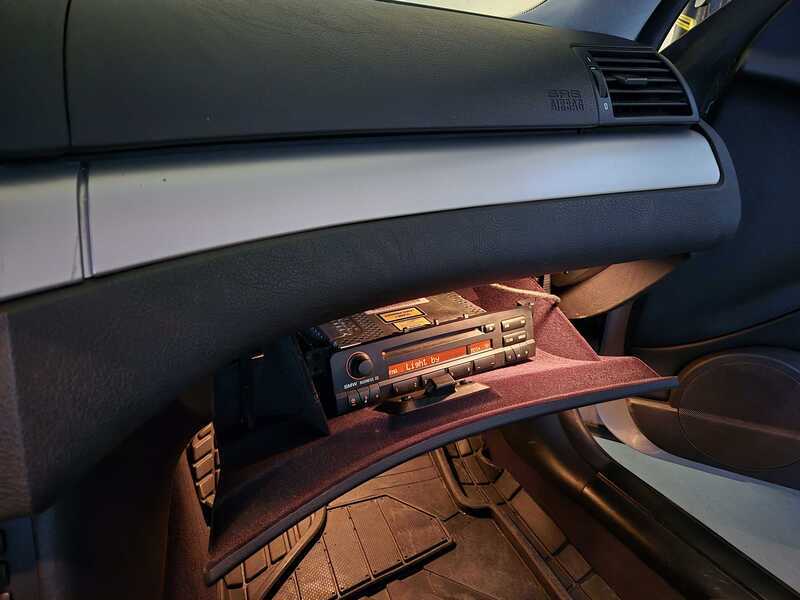
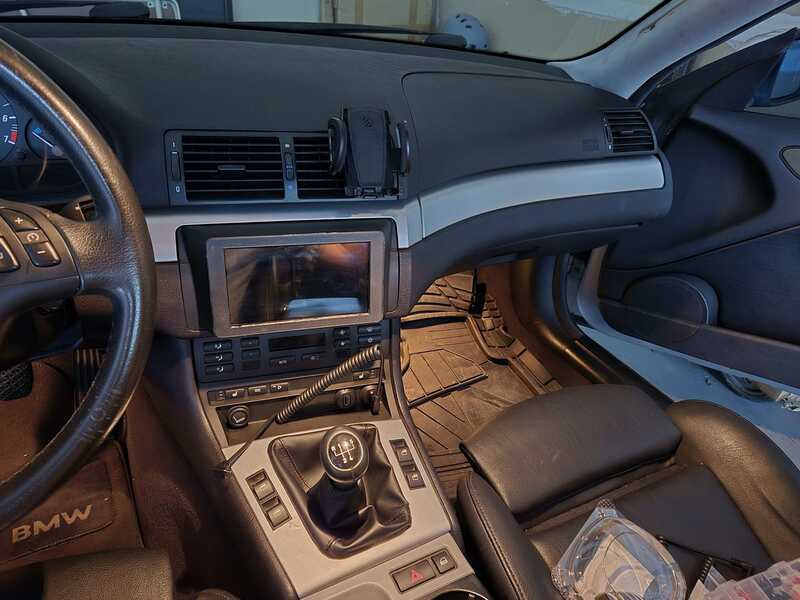
This weekend we finished up the interior job and connected the infotainment system with the radio in the glove box.
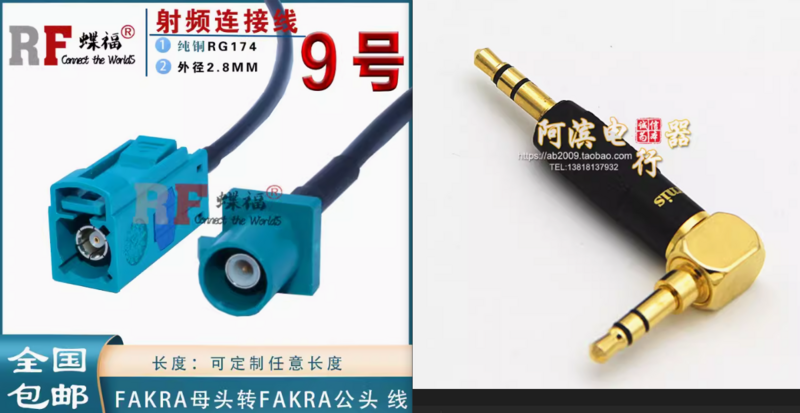
The two missing pieces last time were the male to male aux adapter, and the male to female fakra z code coax extension. The aux adapter runs between the raspi and the radio’s aux input cable, and the fakra cable runs between the radio’s antenna input and the vehicle’s orginal antenna connector that sits behind the center screen. We got these parts from Asia for cheap, the 1m length fakra cable was plenty to reach the glove box with room to stretch when open. It was also reinforced with fleece harness tape since it needed to pass through some sharp metal openings under the dash.
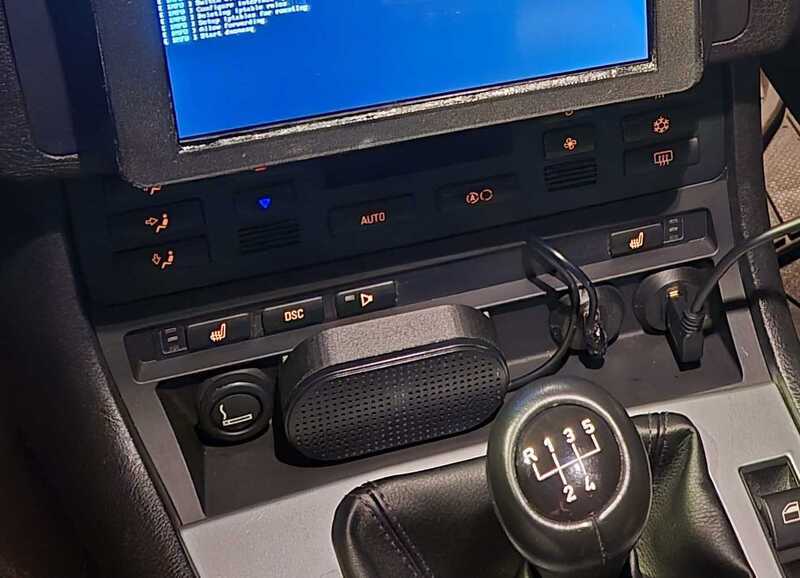
To make the wired Android Auto connection look clean, we also got some male 90 to female straight USB3 cables. The female end is mounted on some 3D printed bezels, and epoxied to the lower Metra bracket. We hole sawed two 1” openings on the opposite side of the cigarette lighter. One is for Android Auto, the other for connecting the external USB speaker. Similar to a production car center console, you simply add your own USB A to USB C cable to the phone.
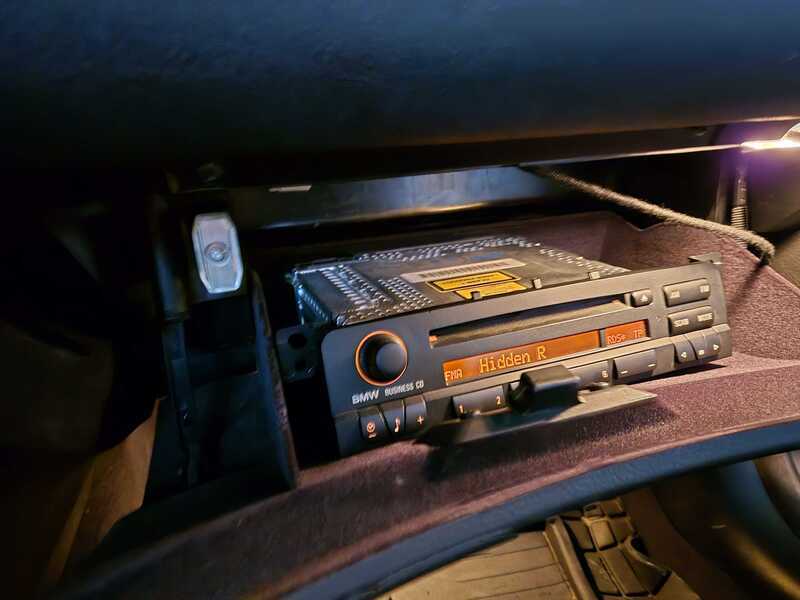
We hot glued reinforced the connectors going to the raspberry pi so it would be robust against vehicle vibe. We had to cut another hole with the hole saw in the glove box, to let the straight fakra connector through. Otherwise there was not enough depth to fit the radio.
Lastly, I 3D printed a new rear enclosure to the USB speaker, so that it mounts flat to the Metra bracket. It is attached quite securely with VHB tape, and the USB cable was shortened to fit snugly in front of the shifter.
This is what it looks like with it all close up, and trim pieces reinstalled, quite clean imo.
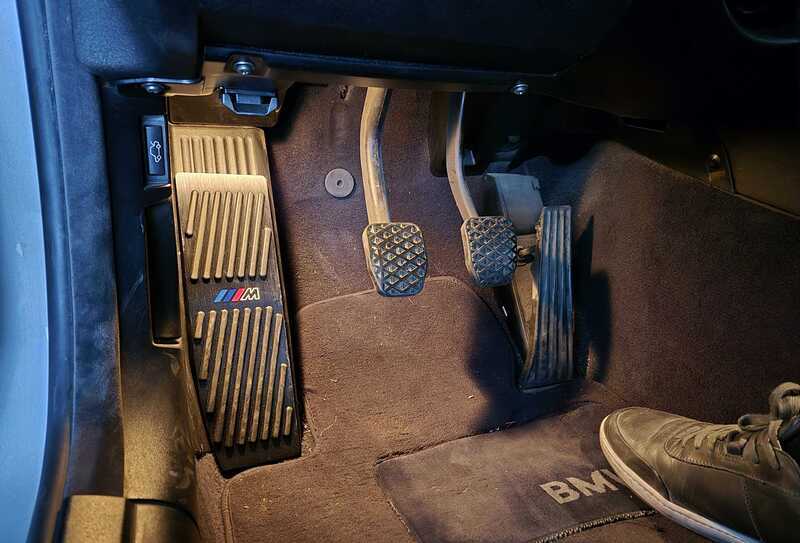
We also installed a dead pedal aluminum cover, since our dead pedal trim piece was just about cracked in half. 3 pedals for the win! (Except in traffic)
So for once, we finished a pretty significant car project!